You probably landed here in search of information on becoming a better grill user or cook. You have also probably realised that there is more to building a wood-burning grill than the average person might expect.
So, what is the best way how to build a wood-burning grill?
The best way to build a wood-burning grill would be to prepare the grill area or structure and ignite it using the correct steps. You may have to start with small splinters and some fuel to help encourage the fire. You also have to use the correct type of wood for the best results.
Fortunately, this guide looks at all the information you need for this process:
What is Wood Burning Grill?
A wood-burning grill is a tool that features grates that you use to set food directly for barbecuing purposes. There are various types of wood-burning grills, and the most applicable one for your needs depends on multiple factors. These include your skills, budget, space, and more.
The grill can also be as simple as a hole in the ground with a grate or a heavy-duty Argentian-style grill. These units sometimes feature flywheels, which users can lift and lower the grill to suit specific cookout applications.
How Do You Choose the Best Wood for A Grill?
The best way to select the ideal wood for a grill relates to your needs and experience. Before you start creating a fire, ensure you pick the correct wood type, even if it involves enlisting the help of friends. Below are some of the critical tips you should consider:
Things You Should Do
- Use wood that has aged outdoors naturally for up to half a year. The wood-drying process that occurs goes by the term wood seasoning or curing. Avoid the freshly cut types, such as the greenwood types, because they won’t burn well. If they do, the wood can fill up your grilled foods with unusual smoke tastes.
- Ensure you have sufficient wood on hand that you might need. Doing this is crucial, especially if you plan on using wood as the main source of fuel for your meals.
- Ensure you have the right mix of wood-based on density, size, and quality. The woods that are dry burn faster than the heavier types. However, dry woods won’t produce a smokey flavour, so it’s best if you get both versions.
- Ensure you source your wood products from trees that have died due to natural complications such as drought, aging, or insects.
Things You Should “NOT” Do
- Never use wood that has any curing or seasoning in an oven or when using a kiln. The intense heat can cause the wood to dry up, thus leading to unusual burning rates and flavour issues.
- Never cut down healthy trees just because of wood-burning projects.
- Avoid using wood that has any paint, stains, or chemicals. The scraps of wood that you get from places such as lumber yards aren’t suitable.
- Avoid using softwood products such as fir, pine, and spruce. These wood types contain large amounts of oils and resin, that can produce dense smoke. The best solution is to use hardwood alternatives such as pecan, alder, and fruitwoods.
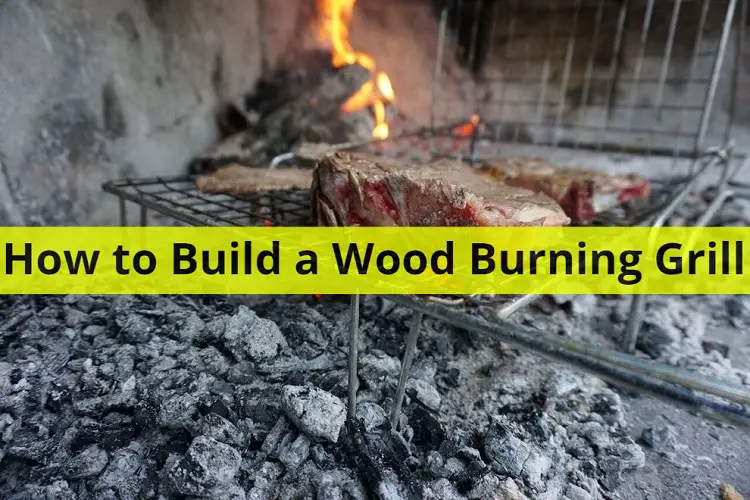
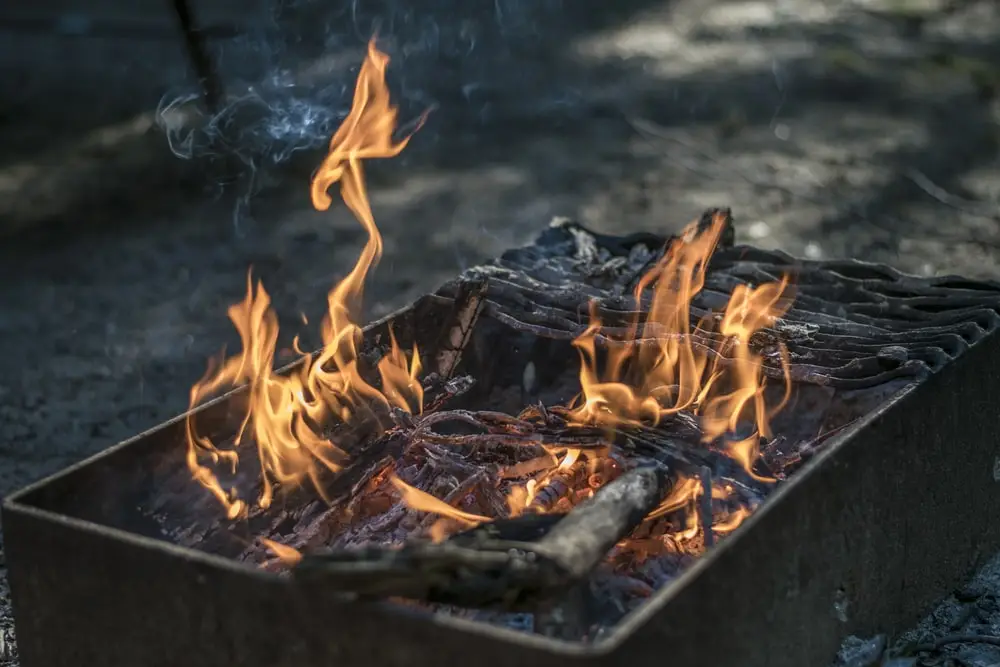
How to Build a Wood Burning Grill – In 3 Simple Steps
Below are the steps involved in how to build a wood-burning grill in a few simple steps:
Step #1: Prepare the Grill Area or Setting
You have many options when it comes to preparing a grill area or setting. Essential, all you want is any surface that can hold the wood as it burns and a well-balanced grill for the meat. It’s the key to creating a good wood-burning grill regardless of your personal preferences. You can use concrete, a pit in the ground, or an iron drum.
We recommended this Youtube Video Titled “Multi purpose wood stove.” by Creative Cement as the perfect place to start this process.
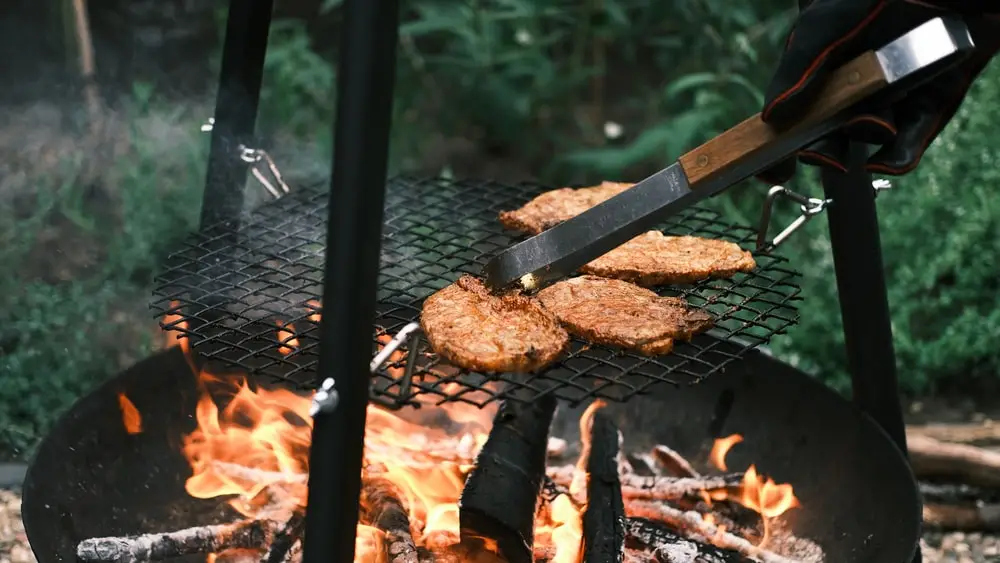
Step #2. Prepare the Grill
When setting up the fire, ensure you use products such as thinner to help improve the wood’s ability to produce a fire.
The thinner also helps ensure that denser logs that burn slowly can provide heat for a significant duration. The setup of your logs should also be spacious to help stop any airflow issues that your fire might create.
Start this process by setting two dense logs on either section of the grill as a platform. Next, get three dry pieces of wood, and set them perpendicularly over the top structure.
Ensure you leave some space between the wood pieces. Set another dense log on the thin ones, and set a smaller piece on the other side of the setup
Step #3. Ignite the Setup
The steps involved in igniting the grill involve moistening a crumpled sheet of butcher paper with some cooking oil. Then, set it between two bottom logs, and light up the setup. You can also use other traditional forms of power, as long as they don’t produce thick smoke.
Avoid using petroleum products such as lighter fluid. As the fire develops and gets to the logs, the middle layer of the thinner and the dry wood should ignite.
The result is that the setup will collapse due to the fire in the inner area, and this will ensure the uppermost log falls on top.
Tips for Creating a Wood Burning Grill
Below are some helpful tips to consider when creating a wood-burning grill:
- Ensure you set the grill a few feet away from resources such as the house or farms. The reason is that the fire can easily spread to the other areas of your property.
- Always evaluate the temperature in the grill using an oven thermometer. Doing this will ensure your meats cook right, and it also serves as a safety measure. The ideal temperature should be between 520ºC and 690ºC.
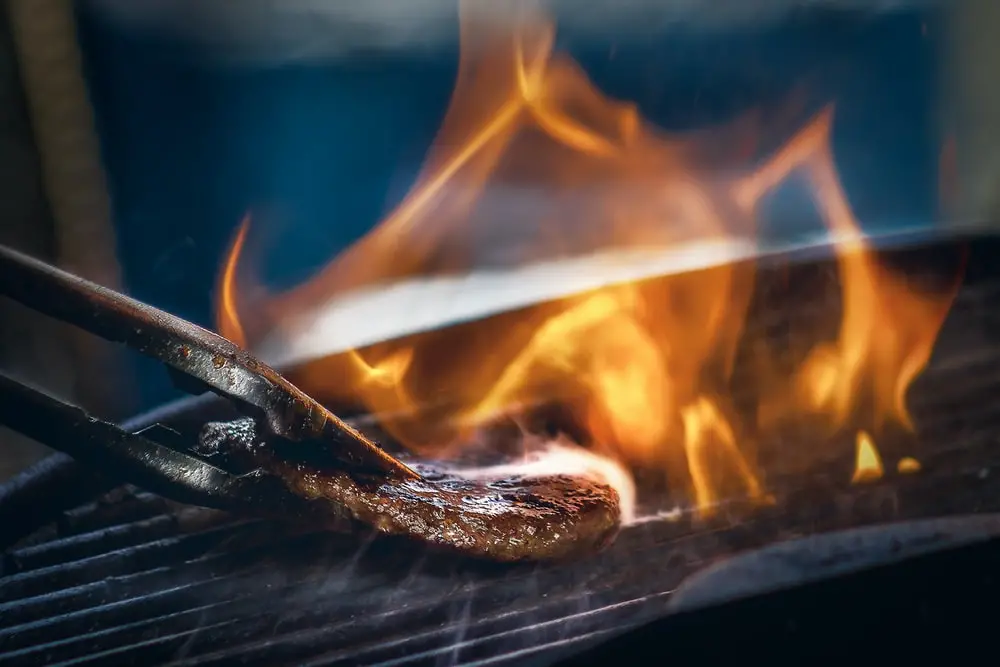
- Always prepare your meals indirectly over the charcoal grills, especially if it’s your first time cooking. The middle section of the grill might be hotter than other sections, so ensure you use the indirect heating process correctly.
- Invest in protective gear for your grilling needs. Common examples include protective gloves, goggles, and a fire extinguisher (when possible – safety at all times). You may also need an apron that helps complement your kitchen and grilling regimen.
Recommended Products
| Recommended Product | Description | Link |
| Rubber Main Thermoter | To use for evaluating the meat. | Rubbermaid Thermometer. |
| Rapicca BBQ Oven Gloves | For handling hot sections of the grill or the meat. | Rapicca BBQ Oven Gloves |
| Kitchen Apron | For ensuring your clothing stays clean. | Syntus 2 Pack Apron |
There is no doubt that developing your DIY skills can be an exceptional way to spend time, especially when creating solutions for your meals. Thus, it’s why this guide has focused on helpful techniques you can use for how to build a wood-burning grill. The most applicable technique depends on your skills, availability of resources, and outdoor space.

- How Long Does Vegan Butter Last? Mystery Solved - January 9, 2024
- How Long Does Vegan Mayo Last - January 2, 2024
- From Pot to Plate: How Long Does Vegan Chili Last in The Fridge? - December 26, 2023


 How to Thin Out Alfredo Sauce + All The Ingredients Needed