Are you a smoker user, or are you perhaps planning on getting one soon? Well, this guide answers one of the crucial questions you might have asked.
What should i consider when it comes to how to use a Masterbuilt electric smoker?
There are various factors you should consider when using the Masterbuilt smoker. You have to season the grill correctly, use the right temperature, and consider the components of an electric smoker. This guide identifies various other factors you should consider.
What are the Parts of a Masterbuilt Electric Smoker
The Masterbuilt smoker has multiple components, including:
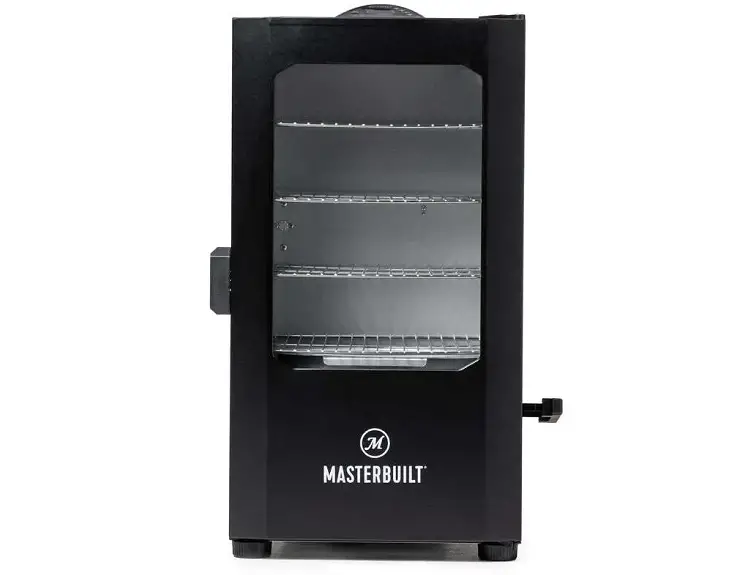
Part #1. Smoking Chamber
Source: Masterbuilt.
It’s the largest component of an electric smoker. This chamber features a spacious internal section where smoking or meat cooking occurs.
The Masterbuilt Smoker also features cooking racks and hooks for sausages. Aside from having high-quality insulation, it also features a sealed door. It’s a mechanism that helps prevent heat and smoke from escaping your grilling area.
Part #2. Heating Element
Source: Unsplash.
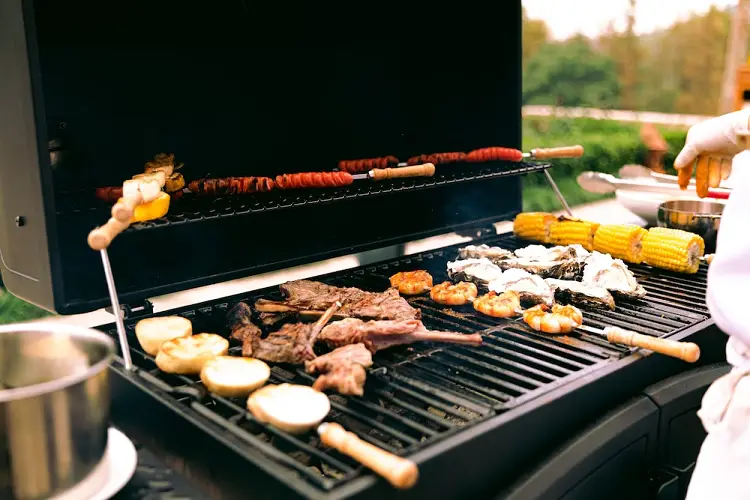
As the name suggests, it’s the smoker’s component responsible for heat production. It usually exists on the bottom section of your smoker.
However, some models have it in the smoker chamber. You might also come across a smoker with two heating elements. Some even have thermostats that help with heat regulation.
Part #3. Wood Chip Tray
Source: Unsplash.
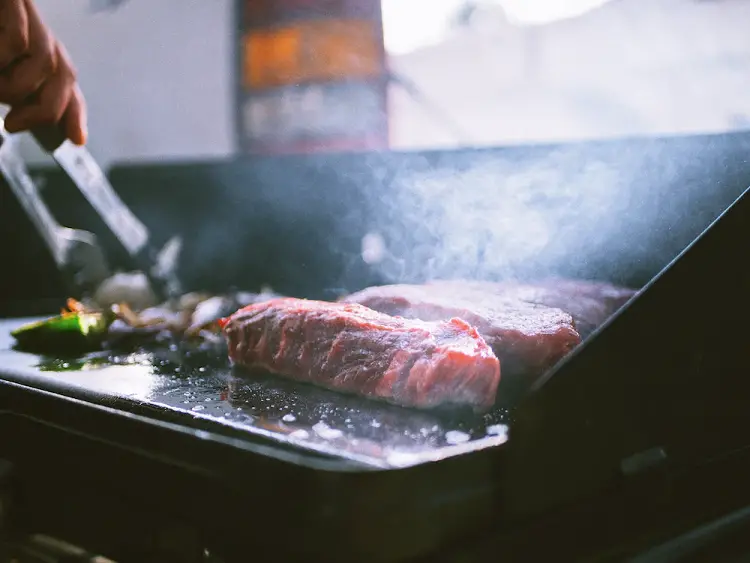
The wood chip tray relates to the specific smoker model you own. In some cases, the pan sits on the top section of your heating element.
However, some smokers come with enclosed wood smoker boxes. Usually, these components feature spaces that make it easy for smoke to get through.
For the newer Masterbuilt Smoker models, you will encounter wood chips in a tray insert. You can usually access this component from the exterior section. It’s an excellent design because it makes it easy to empty and re-fill the wood chips.
Part #4. Water Pan
Source: Unsplash.
The Masterbuilt electric smoker water pan has two prominent roles. For starters, the pan helps introduce moisture into the air so your meat doesn’t dry out during the smoking process.
The pan also has a crucial role in maintaining the ideal temperature levels. It helps ensure your meat cooks slowly and is tender by releasing a generous amount of moisture in the air. The humidity maintains the grill’s temperature, which helps with the meat cooking process.
A Note About Using Masterbuilt Electric Smokers
Source: Unsplash.
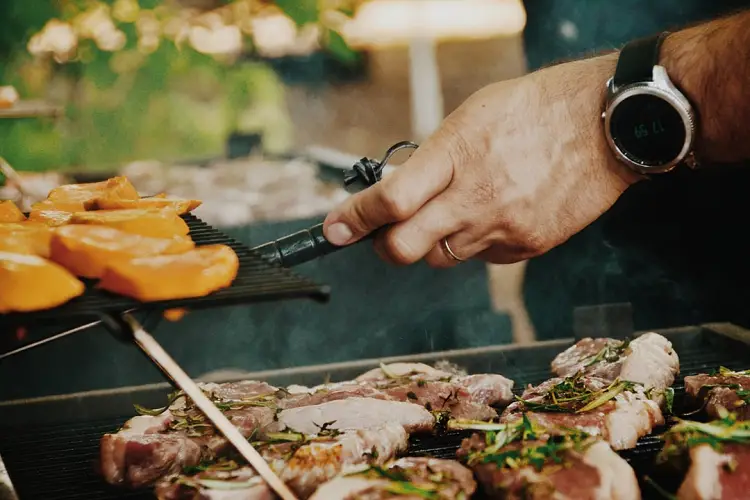
We recommend you consider adhering to your brand’s instructions on using a Masterbuilt Smoker. The company lists various smoker models you can pick, so it’s good to be informed ahead of time.
While most of these smokers seem to have the same settings, they tend to function differently. Thus, they might also have varied user requirements and applications.
You can also click on this guide for Masterbuilt electric smoker instructions. It’s a page detailing the various resources you still need when using this type of smoker. You can use it to learn how to use Masterbuilt charcoal and the electric smoker.
How Do You Season a Masterbuilt Electric Smoker?

Source: Unsplash.
Recommended Items
You need these supplies for the best smoking experience:
| Product | Description | Amazon Product Link |
| Foil | For wrapping your meat. | Amazon Basics Aluminum Foil |
| Gloves | For holding food items. | Black Nitrile Disposable Gloves 6 Mil. |
| Food brush | For dabbing oil and the meat braise | SURDOCA Silicone Pastry Basting Brush |
| Tongs | For flipping the food. | Silicone Kitchen Tongs for Cooking with Silicone Tips |
Steps
Here are the steps involved in seasoning a Masterbuilt smoker:
- Clean the interior sections of the smoker using soapy water. Rinse it thoroughly using some warm and salty water. Let it dry, and then use several paper towels to dry the inside of the smoker.
- We recommend you leave the lid open to ensure the inside of the smoker dries completely.
- Next, apply some vegetable oil to the interior sections of the smoker. Doing this helps the seasoning stick and also provides a unique sear to your meats.
- If you plan on using oil, settle for a product with a high smoking point, like Sunflower Oil.
- Get a clean brush, and dip it into the oil. Then dab the oil into the interior sections of the smoker, including the racks and interior door section.
- Connect the smoker to the power supply unit. Also, set the pan inside the grill, but don’t apply any seasoning to the grill yet.
- Turn on the smoker to 280 degrees Fahrenheit, and let it smoke individually for up to 150 minutes. You can also add some wood chips inside the smoker for an improved taste.
- Power down your machine, and it should now be ready to use!
How to Work a Masterbuilt Electric Smoker?
Here is a step-by-step guide on how to work Masterbuilt electric smokers:
Step #1: Preheat the Masterbuilt Electric Smoker

Before you switch on the smoker, start filling the wood chip tray with some pellets. We recommend you only set a small portion of the wood to avoid overdoing things. The common flavor pellets we have come across are Maple and Hickory flavors.
The next step is to determine the type of electric smoker you own. There are two main types: Electric and Analog smokers
- For Analog Smokers
If you own an analog version, simply switch it on by adjusting the dial to suit your temperature needs. Usually, 220 degrees Fahrenheit should suffice for smoking your meals. Cold smoking might require a few levels lower than this.
- For Digital Electric Smoker – THE ONE WERE USING!
These types are easier to use because you can customize their functionality with a few control panel buttons.
You can also set the temperature and the time you need for your meat to cook. We recommend you check the Masterbuilt Use Manual or Website for more information.
After this, the steps you will need to follow will determine if you have a digital Masterbuilt
Step #2. Set Your Meat on the Grill
Source: Unsplash.
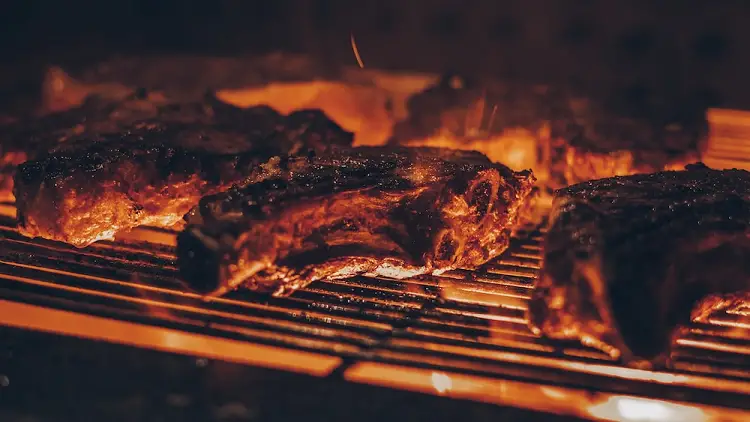
We recommend that you wait up until your meat gets to the correct cooking temperature. Start this process by evaluating the thermometer door to determine whether you have achieved this result.
Or, you can also use any thermometer that you own. Remember to fill the water pan with water, which will aid the cooking process.
Set the pan in the correct position. Set the meat on the correct shelves, and customize the temperature probes for the best heating results.
Step #3. Use the Smoker for Cooking
Source: Unsplash.
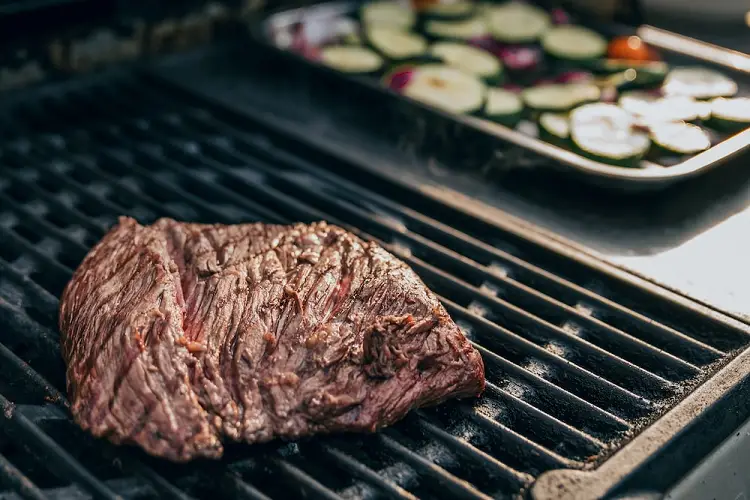
You are probably going to have sessions when you have to prepare your meals for long durations – in the smoker off course.
What we recommend is that you add more wood chips to your setup, and water to the pan. When working with large meat cuts, try and empty the drip pan when the smoking process occurs.
Depending on the temperature setting, you may have to perform this process after every 60 minutes. When adding wood chips to the tray or box, don’t add more than the usual amount.
When refilling the water pan, be cautious with the amount of water you set in the grill. Doing this ensures your meat cooks inside out and retains the moisture you need for juicy results.
Step #4. Shutting Down the Smoker
Source: Unsplash.
Are you using a Masterbuilt grill for the first time? Well, you should realize the importance of shutting it down correctly!
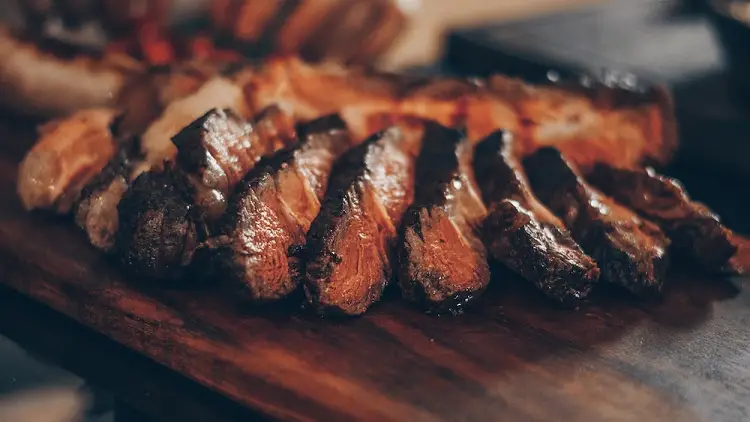
Once your meat and food cook to the ideal temperature, remove your meat from this setup. If it’s an analog grill, ensure you switch off the temperature dial.
Electric smokers are different because you have to click on the power button to switch off the smoker. Finally, ensure you let the smoker cool down for a few minutes as you taste, and start enjoying your meat.
Once the meat or food has reached the desired internal temperature, take the smoked meat out of the electric smoker.
How Do You Use Masterbuilt Smoker App
Source: Youtube:
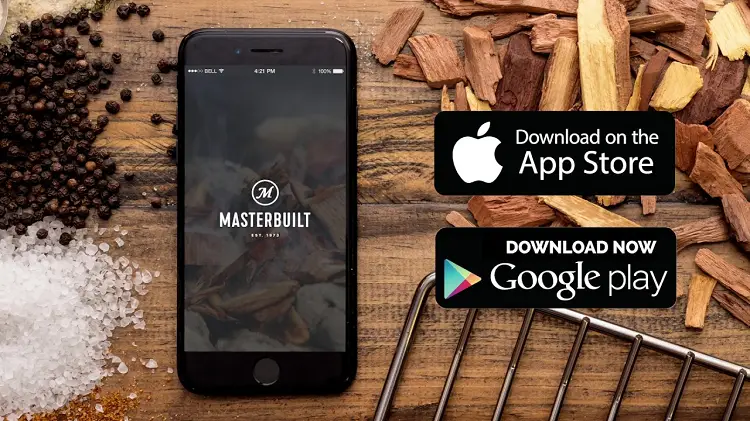
Did you know that Masterbuilt Smoker comes with a mobile application? Most new models from the brand have mobile applications that you can download.
Once the sync process completes, you won’t have to use the control panel on the smoker. Instead, the app provides an all-in-one platform where you can regulate aspects like timer and temperature.
It also lets you track the temperature level conveniently. We recommend you always double-check the status of your grill when using the app. Doing this ensures your smoker receives the right instructions from your device!
PRO TIP! Here is a helpful video relating to the app and wireless functions: How to Pair and Connect Your Masterbuilt Bluetooth Digital Electric Smoker to the App.
What are Some Helpful Masterbuilt Electric Smoker Tips
Here are the top Masterbuilt electric smoker tips and tricks:
Tip #1. Use the Proper Power Outlet
Source: Unsplash.
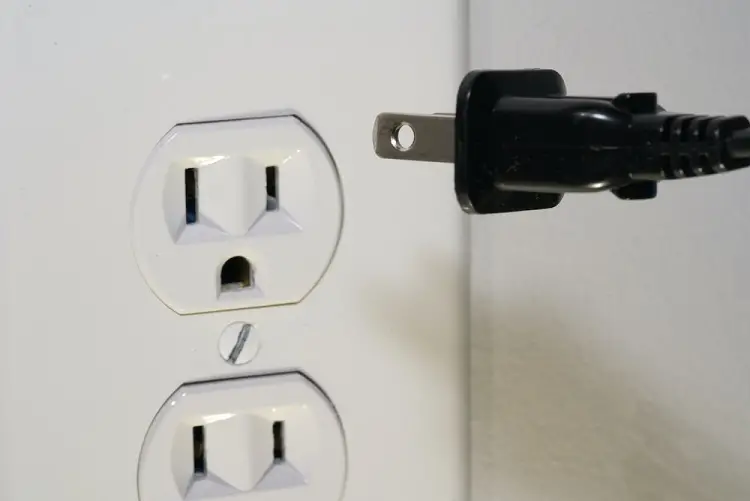
First off – realize that a Masterbuilt smoker is a powerful unit. Thus, we recommend you plug it into the correct power supply source.
Avoid setting in shared power supply sources, such as those that you also connect to other appliances like the fridge.
Doing this helps ensure issues like power surges, and overloads won’t occur when using your smoker.
We also recommend you keep track of all electric components before starting your grill. These include the power sockets, extensions, cords, and the basic functions of your grill (safety is no exception!)
Tip #2. Let the Smoker Preheat Properly
Source: Unsplash.
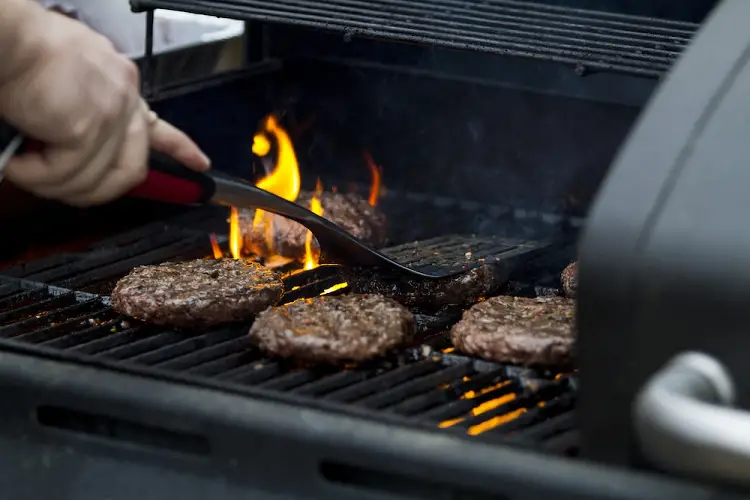
Preheating is one of those important concepts that the average Electric Smoker fails to consider. So, why is it important?
Preheating your grill has various benefits. First, it helps with the cleaning process because the intense heat eliminates any dirt or bacteria from the grill.
Second, the preheating process helps with flavoring your grill. Exposing the grill to the heated seasoning will positively impact the taste of your meals.
Third, preheating also makes it easy to clean the grill after you complete your cooking. Usually, most Masterbuilt Electric Smokers feature thermostats which make temperature control a breeze.
Tip #3. Keep the Racks Empty
Source: Unsplash.
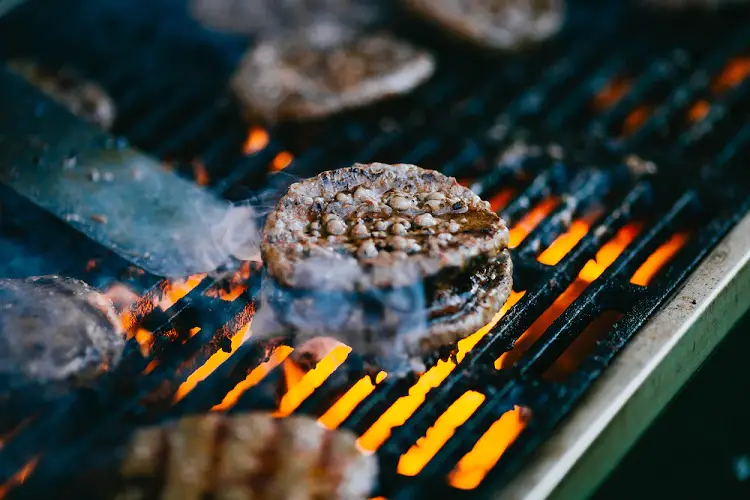
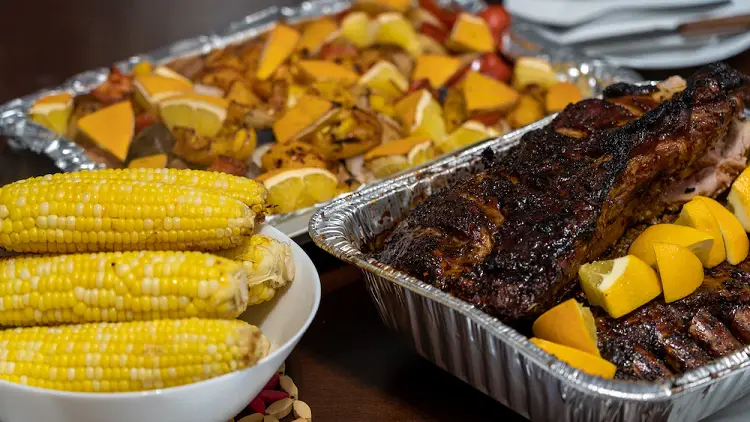
We know that some like setting foil on your racks because cleaning and cooking are convenient. However, we recommend you avoid doing this at all costs!
Why does this happen?
Well, it’s because the foil will compromise the air circulation quality. Remember that your smoker features a single heat source, and it’s good to ensure it works as efficiently as possible. So, remove anything that fails to expose your food to the direct heat your smoker produces.
Tip #4. Out with the Foil or Parchment Paper!
Source: unsplash.
Avoid this mistake at all costs! Never set excessive amounts of food on the cooking rack sections of Masterbuilt Smoker.
Doing this will lead to heat circulation compromises. Thus, this means your food won’t cook as required. Ensure your food is evenly spread out – so the heating process is effective.
So, what happens when you cook for the entire family or many friends? Well, cook the food in batches. So, ensure you plan ahead of time for this approach.
Part #5. Keep the Door Closed
Source: Unsplash.
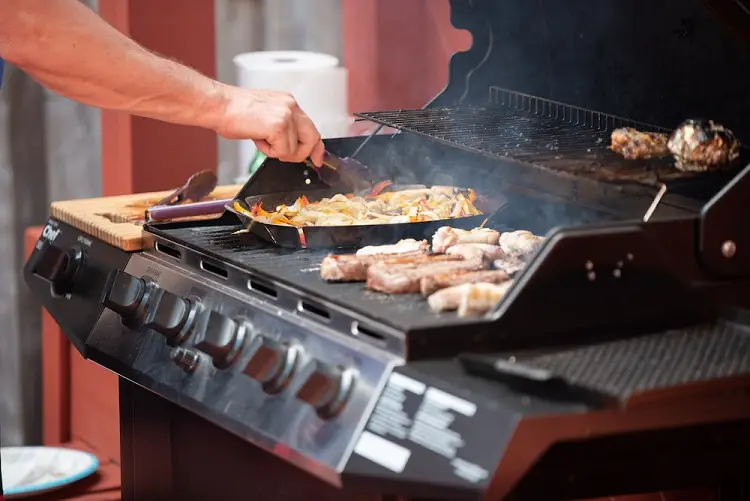
Many Electric Smoker users need to remember to close their grills when cooking. Leaving the door open during this process means it will be easy for air to escape. Such issues can lead to flare-ups and will compromise the quality of your foods.
While you may have to open the door when adding items like wood chips, or water, you must be cautious.
Even transferring food out of the smoker requires caution – especially in determining the type ready for consumption.
Close the lid of your smoker whenever you notice any flare-ups. Doing this will help reduce the fire’s intensity while ensuring all meals cook as required.
PRO TIP! Here is a video on how to use A Masterbuilt electric smoker. How to Use the Masterbuilt Electric Smoker in 6 Easy Steps.
How to Get More Smoke?

Source: Unsplash.
You can do various things to improve the quantity and quality of smoke your unit can produce. We recommend you prepare your heat with the highest possible heat setting. Doing this will cause the wood chips to ignite faster.
Once you complete the preheating process, switch on the smoker to return to the required cooking temperature.
Even if it’s possible to soak wood chips before you set them on the tray, we recommend you avoid such an approach.
Why is that? Doing this will help ensure you get good smoke for your meals and that the quality matches your desired results. Remember to keep track of the burning rate of the wood chips to ensure the best flavoring quality.
We also recommend you learn how to use a Masterbuilt electric smoker vent. Doing this is crucial if you plan on using it regularly and for large amounts of food.
Frequently Asked Questions (FAQ)
How Do You Use a Masterbuilt Electric Smoker?
There are various things you must consider when using a Mastebuilt smoker. You must preheat the grill, clean it as required, and apply the seasoning. You must also ensure the grill is well connected to the power supply unit.
How Do You Smoke on a Masterbuilt Smoker?
Smoking on a Masterbuilt smoker involves a few key steps. You first have to clean the grill, apply the seasoning, and set your meat inside the chamber. Next, shut the lid, and monitor the cooking progress of your meal.
Do You Soak Wood Chips for the Masterbuilt Electric Smoker?
You can soak wood chips before using them in a Masterbuilt Electric smoker. Doing this helps increase the quantity and quality of smoke the pellets produce. We recommend you water the wood a few minutes before setting them in the smoker. Don’t overdo it though!
How Often Should I Add Wood Chips to My Masterbuilt Electric Smoker?
The frequency of adding wood chips to your smoker depends on your preferences and the current amount of smoke in the unit. It may take a few tries before you can master the best smoke quality for your grill.
Do You Leave the Vent Open on an Electric Smoker?
Yes, you leave the vent open when using an electric smoker. It’s essential because this section provides ventilation for the smoke and air. Ensure you always check the vent before cooking.
Using a Masterbuilt electric smoker is easy when you have the correct information. These units are also available with a mobile app for your convenience. Get the seasoning, venting and temperature right – and all should be well!
- How Long Does Vegan Butter Last? Mystery Solved - January 9, 2024
- How Long Does Vegan Mayo Last - January 2, 2024
- From Pot to Plate: How Long Does Vegan Chili Last in The Fridge? - December 26, 2023


 Is Chorizo Made from Lymph Nodes – (+ An Exclusive Recipe!)