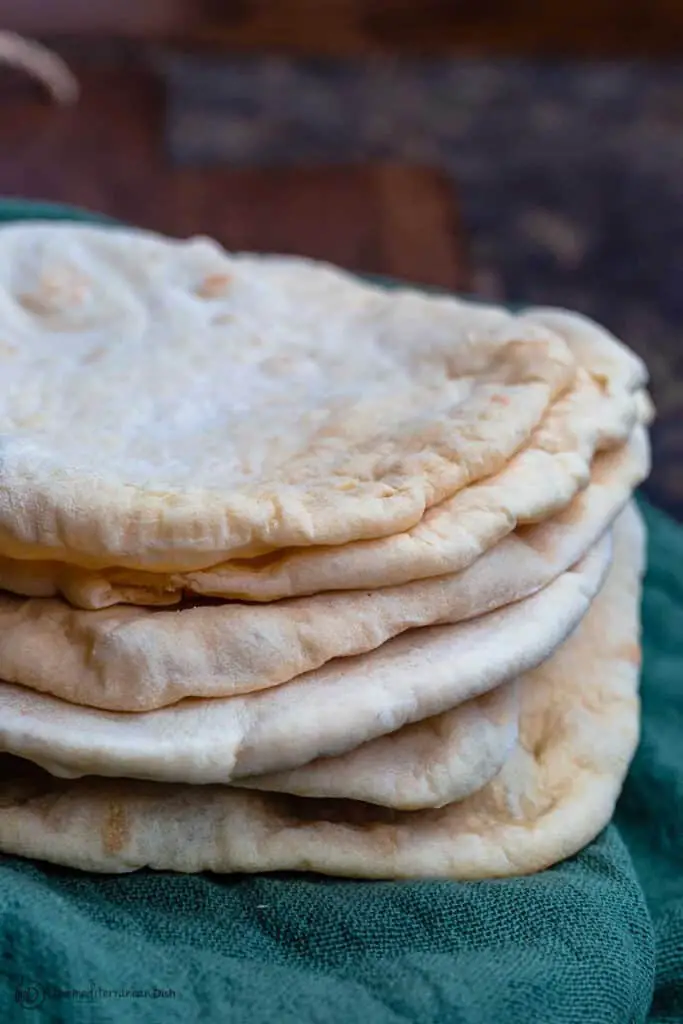
Long ago when there was little trade among the countries, Bedouins used to travel. They traveled from the Middle East and the West of the Mediterranean sea. So as their go-to food, they used to bring pita bread with them.
This is how the bread and its recipe traveled to nations. If you’ve been brought up in Egypt or the Middle East, you’ll probably have a family recipe for pita bread.
Today, we’re here with our traditional recipe of pita bread. Before that, let’s tell you how much time is needed and what nutrition it offers.
- Level: Medium
- Serving Size: 8 pieces of pita bread
- Dough MakingTime: 30 minutes
- Dough Resting Time: 1 hour
- Bread Making Time: 30-45 minutes
- Baking Time: 32 minutes
- Serving Time: 3 minutes
- Total Time: 2 hours 35 minutes to 2 hours 50 minutes
Nutrition Facts
| Nutritions (8 pieces of pita bread) | Amount |
| Dietary fiber | 1.3 gram |
| Niacin equivalents | 3.9 mg |
| Protein | 4.8 gram |
| Sugar | 0.1 gram |
| Fat | 4 gram |
| Folate | 99.1 mcg |
| Calcium | 8.2 mg |
| Iron | 2.2 mg |
| Magnesium | 10.6 mg |
| Potassium | 63.9 mg |
| Sodium | 510.9 mg |
| Thiamin | 0.4 mg |
| Carbohydrate | 33.1 gram |
| Calories per serving | 186.6 |
Ingredients Needed
- 1 cup warm water (30-36 degrees celsius)
- 1 packet active yeast
- 2.5 cups of all-purpose flour
- 3 tablespoons of extra virgin olive oil
- 1 ¾ teaspoons of kosher salt
- 1 pinch sugar
How to Make Pita Bread at Home? Easy Steps!
Let’s move on to the bread-making process. Because the pita bread is best when it’s freshly baked at home.
Store-bought ones don’t have freshness and warmth in them. So without further delay, let’s hop into the steps.
Step 1 of 6: Let The Yeast Rise
First, take 1 cup of warm water. Then add 25 ounces of active yeast to it. Now add ½ cup of all-purpose flour and mix them all together.
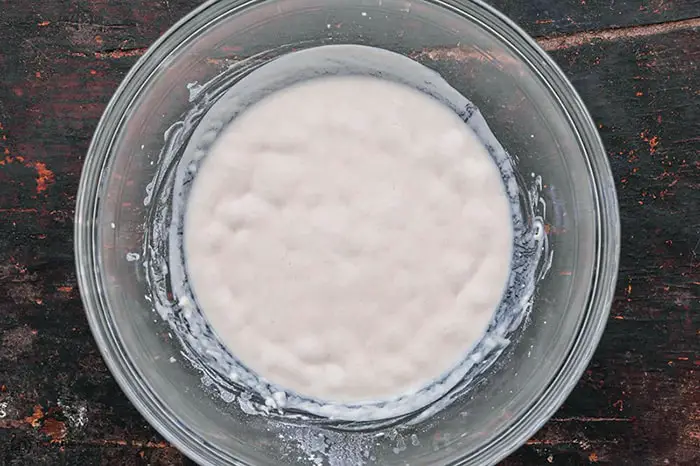
Then let the mixture sit for 15 minutes. And keep it in a warm place. You can place it near the stove. And you won’t have to cover the mixture. Within 15 minutes the yeast should rise. Then move to the next step.
Step 2 of 6: Make The Pita Dough
Now add 2 cups of all-purpose flour to the dough mixture. Then add sugar and 2 tablespoons of olive oil. Now keep stirring the mixture until it turns into a sticky mess. Now sprinkle some flour into the bowl.
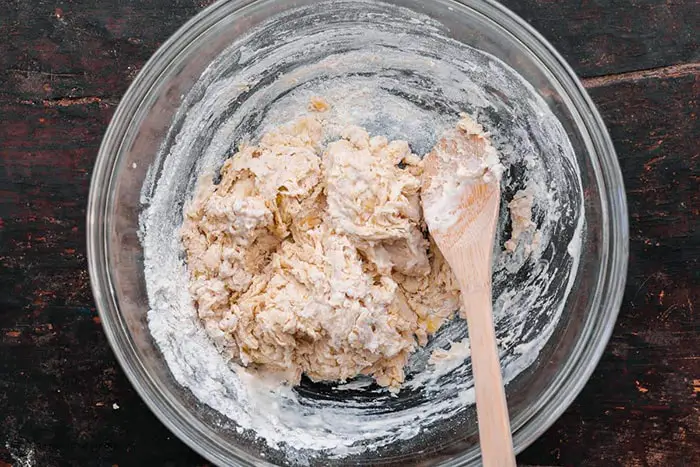
Then just stir the mixture properly for a minute.
Step 3 of 6: Knead The Pita Dough
Now it’s the main part. That is kneading the pita dough. You might have thought of taking the help of a kneading machine. To be honest, you won’t need one.
Besides kneading with hands gives you a better understanding of how stretchy the dough is.
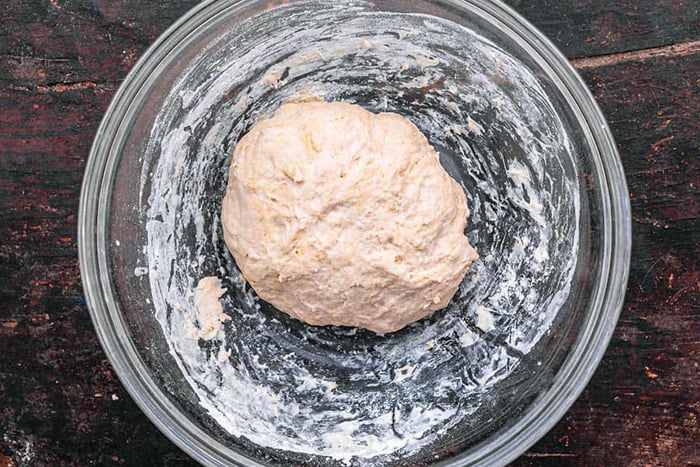
Sprinkle some flour over the space where you’ll knead the bread. We mostly knead bread in a plain tile. Now pour the dough above the sprinkled flour. Then knead for 2 minutes continuously. After that, let the dough rest for 10 minutes.
Repeat the process. By now the dough should be a bit moist and softer than when you started kneading.
Step 4 of 6: Let The Dough Rise
It’s time to put the dough back in its bowl. Before that, clean the bowl by wiping it. Add the remaining olive oil to it. Then place the dough in the bowl. Try to flip the dough 3-4 times on the bowl. So that it absorbs the oil.
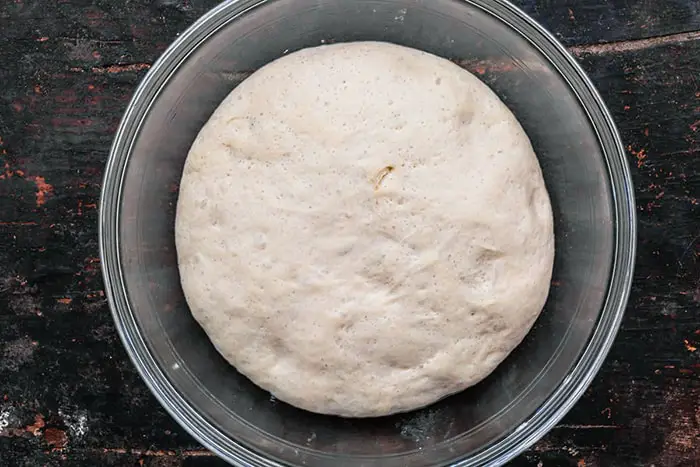
Cover the bowl with a plastic wrap tightly. After that place it in a warm place again. And cover it with a cloth or towel. Now, wait for an hour.
You’ll see that the dough has been doubled up. Now it’s time to roll the dough.
Step 5 of 6: Roll The Pitas
First, take out the dough from the bowl and place it on a plain surface. Then divide the dough into 8 equal parts. Then cover the dough with a damp towel to keep them moist. Wait for 10 minutes.
Now start to roll the pitas one by one. While rolling, put equal pressure on every side of the pita.
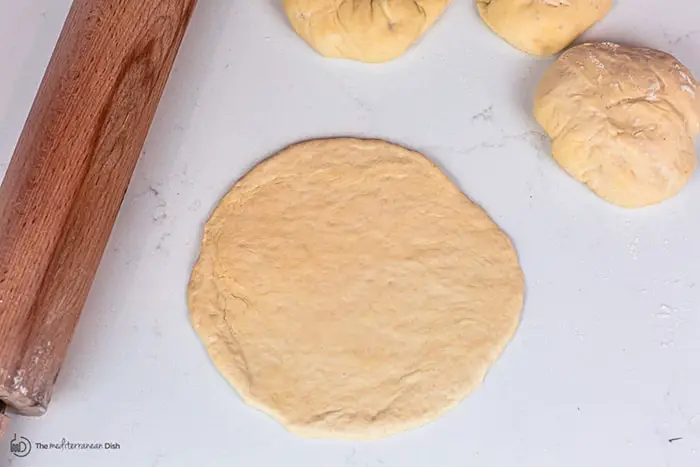
When you’re done rolling all the pitas, move to the next step.
Step 6 of 6: Bake The Pita Bread
Now there are two ways to bake pita bread. One is that you can bake it in the oven. Or you can cook it on your skillet. We’ve mentioned both ways below.
Baking in The Oven
Preheat the oven to 475 degrees Fahrenheit. And then palace a large heavy bottom pan to the oven. And put as many pitas as you can incorporate on the pan.
Then bake for 2 minutes and flip it. Again bake for 2 minutes and the pitas are done.
Cooking in The Skillet
Drizzle 4-5 drops of extra virgin olive oil on a heavy bottom pan. And then place it on the stove. Then add one bread at a time. Now flip it after 30 seconds. Then wait for 2 minutes and flip again.
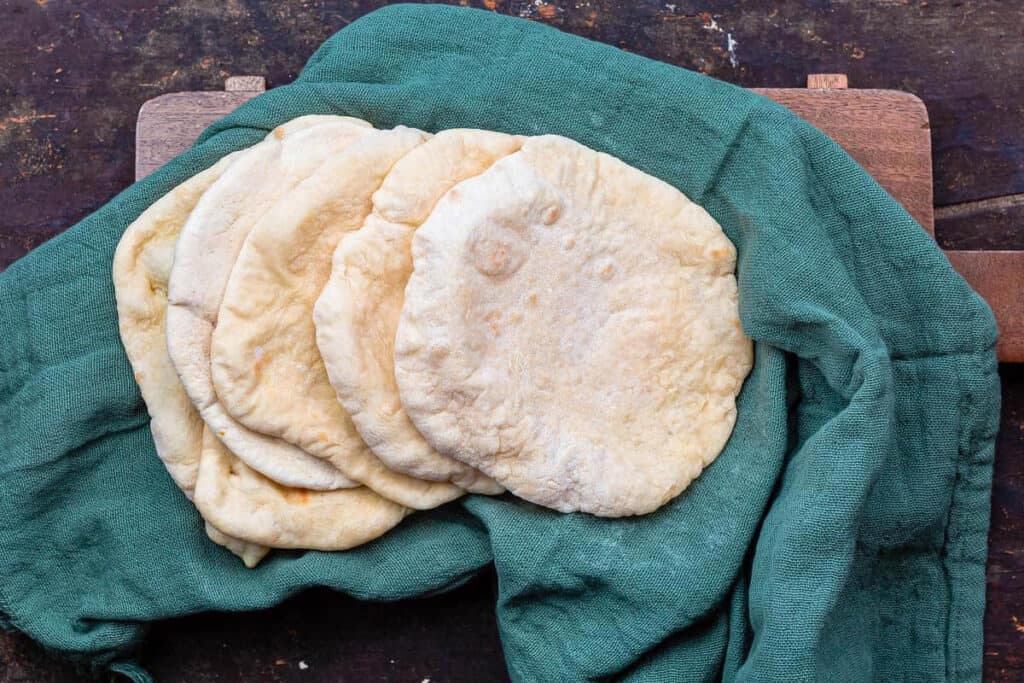
Wait for another minute and the bread is ready. Now cook all the bread one by one. Serve them with hummus, meat curry, or even soup.
Quick Tips
So here are a few tips on pita bread making. Hope you get to learn something from the tips.
Can I Store The Pita Bread Before Baking it?
Well, you can store the separate pita bed doughs before baking them. Just take air-tight Tupperware and place the pita doughs one by one. In between the doughs, spread some flour. So that they won’t stick together.
Why My Dough Isn’t Rising?
It can be because the yeast you used has died. Now you’ll have to throw the mixture. And you’ll have to use a new packet of yeast that’s not expired. And let it rise again.
How Can I Make the Pita Gluten-Free?
Well, you can simply use gluten-free flour on the same amount. And then follow the rest of the procedure similarly to regular pita bread.
Whether it’s gluten-free or not, pita bread tastes amazing.
- How Long Does Vegan Butter Last? Mystery Solved - January 9, 2024
- How Long Does Vegan Mayo Last - January 2, 2024
- From Pot to Plate: How Long Does Vegan Chili Last in The Fridge? - December 26, 2023





 No-Fail Oatmeal Bread- Secret Revealed!