If you ask me to name one of the finest thin-crust pizzas, I’ll go with Monical’s pizza. Monical’s pizza will undoubtedly become your favorite if you enjoy thin crunchy crust. However, it may not be offered in your region, and the recipe is quite difficult to get a hold of.
So, this is why we’re here to help you out. Check the recipe out, follow the instructions and your craving will be satisfied!

- Level: Hard
- Serving Portion: 8 Slices
- Preparing Time: 2-3 days
- Baking time: 6 minutes
- Total time: 3 days
Nutritional Facts( Per Slice):
| Calories | 1366 |
| Total Fat | 35g |
| Saturated Fat | 20g |
| Cholesterol | 80g |
| Protein | 63g |
Ingredient List
For the thin pizza crust, you’ll need:
- Flour – 4.5 cups
- Water – 2 cups
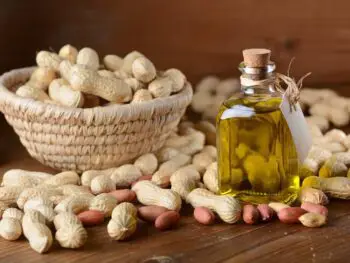
- olive oil – 2.5 tablespoons
- salt – half tablespoon
- yeast – half tablespoon
- sugar – 1 tablespoon
Other ingredients you’ll need for the pizza:
- Plain Progresso Bread Crumbs
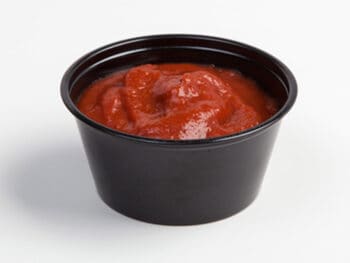
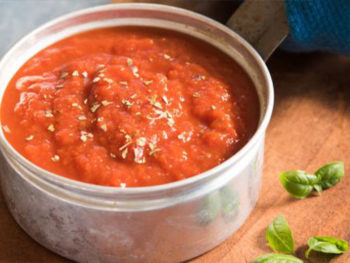
- Pizza sauce
- Basil
- Garlic salt
- Fresh mozzarella / low moisture mozzarella
- Pepperoni
- Other preferable toppings to your liking
Step-by-Step Instruction For Thin Crust Monical’s Pizza-
When you make this pizza, remember, you’ll need to have 3 days free. On the first day, you’ll make the dough. The next day, you’ll wait for the dough to ferment. On the 3rd day, you’ll bake the pizza with the toppings.
Day 1 – Make the Dough
In order to make the dough, you need to follow the following steps-
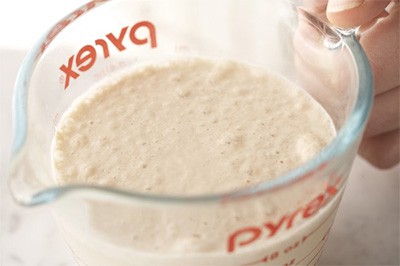
Step 1: Proof Your Yeast
To prove your yeast, combine water, sugar, and yeast together. Let it rest until it’s foaming and bubbling.
This process will take 5 minutes. It’s essential that you use lukewarm water, not hot water. Around 105 degrees Fahrenheit is the ideal temperature.
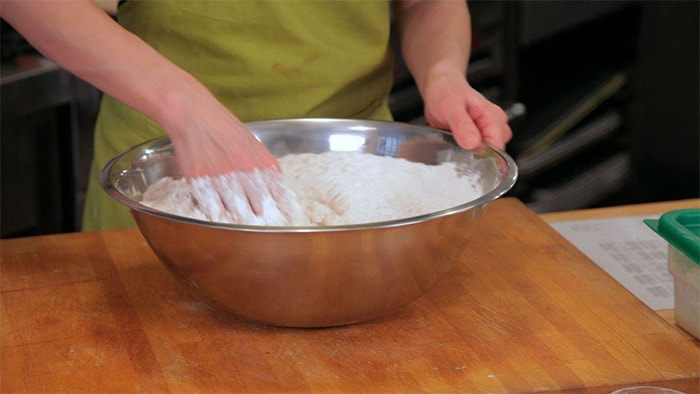
Step 2: Mix the Dough Ingredients
After the yeast has proofed, mix the olive oil, 2 cups of flour, and salt in a mixing bowl. Utilize the thin portion of a wooden spoon to blend all of your ingredients.
If the dough starts to clump together, add as much as additional flour you think is required.
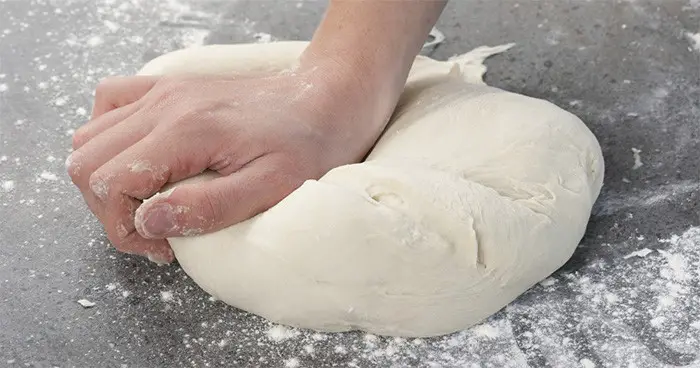
Step 3: Knead the Dough
Transfer the dough to a floured area and knead for about 5 minutes. Or grind until the dough shapes into a smooth ball.
Using your hands knead it until you can feel it’s smooth. It shouldn’t feel sticky. To create perfect consistency, you can add small amounts of additional water. But don’t overdo it. Remember that this is a low moisture dough.
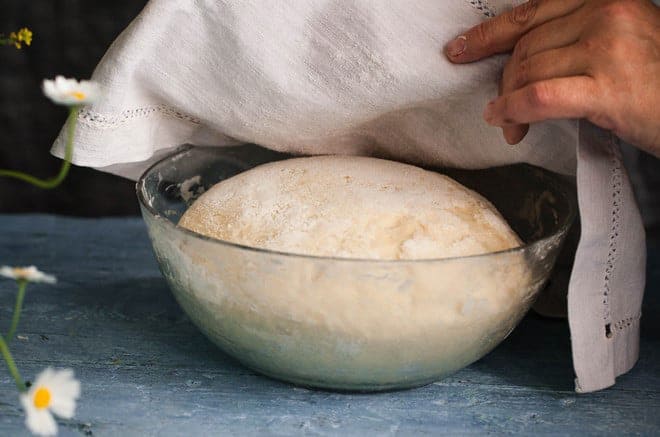
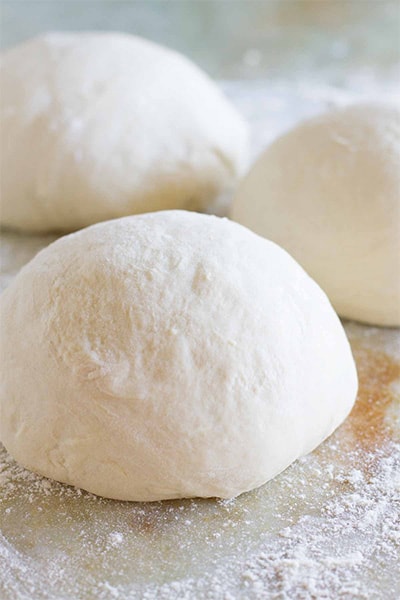
Day 2: Wait for the Dough to Ferment
Place the dough in a medium-sized bowl and let it ferment for 24 hours. You cannot use it before at least 24 hours of fermentation. You will not get the same result.
Day 3: Bake the Pizza
Let’s see how you can even out the dough, bake it with all the toppings, and serve them-
Step 1: Prepare the Dough
2 hours before baking, take the dough out of the refrigerator. Allow the dough to sit at room temperature. This can assist you in rolling it out more smoothly.
Preheat the oven to its maximum temperature. Remove any other racks from the oven to allow room for the pizza to be inserted.
Step 2: Roll the Dough
Cut the dough into 4/5 equal parts. A 12-inch pizza may be made from each piece.
Flour a 2×2 working surface where the dough will be stretched out and rolled.
Shape the dough into the form of a tiny serving ball using your hands. Roll out the dough and make it a thin crust. Flour the pin if the dough is sticking to your pin.
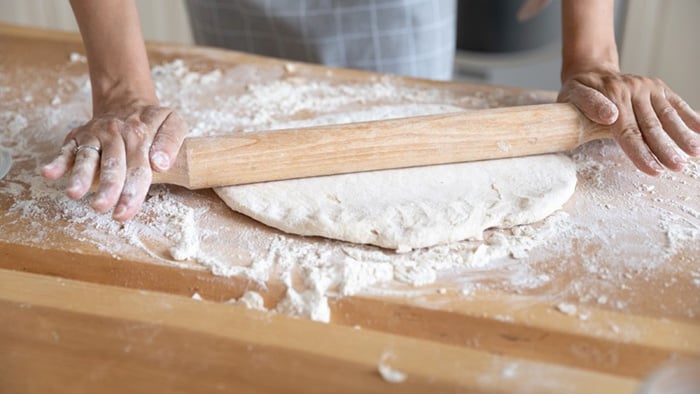
You may experiment with the thickness of the dough until you discover the ideal crispiness to your preference.
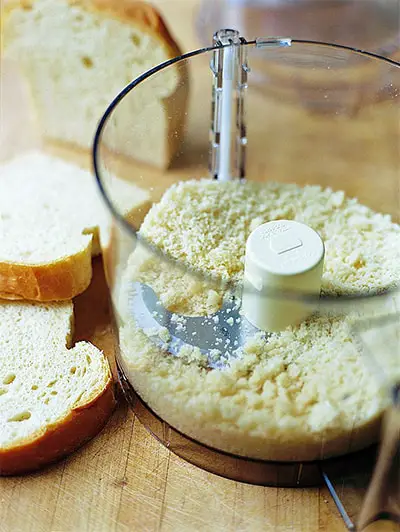
Step 3: Add Breadcrumbs to The Bottom of Your Dough
Spread a generous amount of breadcrumbs on the pizza peel. Then remove the dough from the surface and place it on the breadcrumb-covered pizza peel.
Move the dough around and pin the breadcrumbs on the bottom of the crust. Make sure that it moves freely and slides into the oven easily from the pizza peel.
Using a fork, stab the pizza dough all over the top. This will prevent the dough from bubbling while baking.
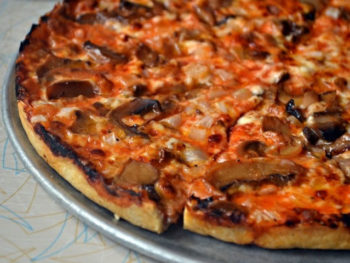
Step 4: Add Toppings to Your Pizza
Add sauce, cheese, and toppings to your pizza. At the start, don’t use too much sauce. Gain a feel for how much sauce works best for your crust. If you use too much sauce, the dough will get mushy.
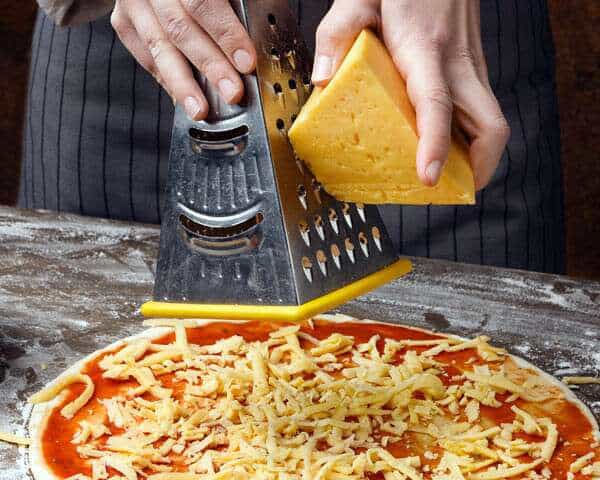
Finish with spreading the toppings with garlic salt and basil or Italian herbs on the pizza equally.
Step 5: Bake and Serve Your Pizza
Slide the pizza onto the oven, set the timer for 6 minutes. Then remove the pizza once the desired crispiness is achieved. The crispy crust will look golden-brown.
Remove the pizza from the oven. After cooling for a few minutes, slice, serve and dig in!
Enjoy your pizza with your friends and family!

Some Important Tips-
We understand making a whole pizza isn’t easy. So, we’re adding a few tips for you, check them out-
What Do I Do When Breadcrumbs Pile On The Pizza Stone?
It’s worth noting that after a couple of them are cooked, the breadcrumbs will begin to pile on the pizza stone. These may simply be brushed onto a baking sheet and discarded.
Will Store-bought Sauce Be Enough?
You can use store-bought sauce, but you can mix it up with olive oil and herbs if you like. It’s up to your preference.
What Cheese Do I Use?
Fresh mozzarella (presented in a ball form) is preferable to pre-cut cheese packets. It’s good to use low moisture mozzarella. This prevents the pooling of oil on the top of the pizza.
Now you know the best way to make your thin crust pizza. We hope you’ll find it helpful.

- How Long Does Vegan Butter Last? Mystery Solved - January 9, 2024
- How Long Does Vegan Mayo Last - January 2, 2024
- From Pot to Plate: How Long Does Vegan Chili Last in The Fridge? - December 26, 2023


 Mack & Manco Recipe For Anyone Who Wants To Make It at Home
2 c water to 4.5 c flour is 80% hydration. That’s a very wet dough, not a stiff dough.
Perhaps the 2 c flour in the body of the recipe is *in addition to* the 4.5 c in the ingredient list?
Or perhaps the water should be less?
Also … when and how does the proofed yeast go into the flour/salt/oil …
Thanks