Many say that the best part of the knife is the blade. But we say it’s the handle. Because if that’s not comfortable, you can’t work with the knife.
But what happens when the handle gets broken? Well, it becomes totally unusable. It can’t get any worse if that was your favorite knife.
So you’re asking how to rehandle a knife?
To do that, you can either make a handle from scratch. For that, you have to cut and shape wooden blocks. Then attach them with the knife. Decorate it with paint and varnish. Or you can rehandle the previous one. To do that just simply attach it with the blade.
Now it might sound a bit difficult. But once you go through the steps, it’ll seem pretty easy.
Can You Rehandle A Knife At Home?
Yes, you can rehandle a knife at home. You can even make a handle from scratch as well and then attach it to your knife.
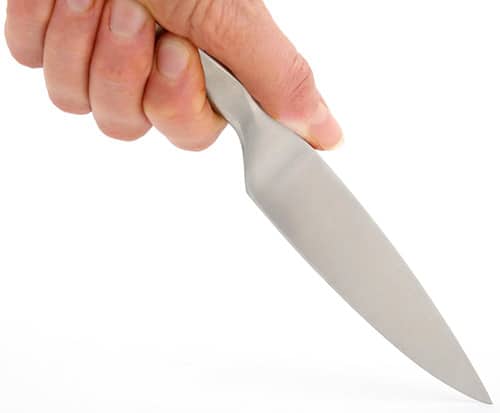
So if you have a broken knife handle, no need to worry. All you have to do is keep reading the next segments. You’ll find a way to fix it.
How to Rehandle A Knife? Step by Step Guide!
Well, rehandling a knife is not as easy as deburring a knife. But it’s still doable if you have the patience and some tools.
If you’ve got both of them, the next thing you need is proper guidance. To help you out, we came with a step-by-step guide on rehandling the knife.
Just follow the steps and you’ll be fine.
Here we’ve presented two scenarios and the solution. Just follow the steps accordingly.
What to Do If You Have The Handle?
Well, it can happen that the handle just got detached. But you still have the handle and it’s attachable.
To be sure, check if the handle broke from the middle or just the attachment got loose. If the attachment got loose, it’s fixable. Because the handle is fine. All you have to do is reattach it.
If that’s your situation then follow the steps below.
Tools Needed
Well, we know you’re eager to jump into the steps right now. But first, look for the tools that you’ll need.
- Clamp
- Wooden/metal dowels
- Hammer
- Drill machine
- Magic marker
Once you get the tools, start rehandling the knife.
Step 1: Mark The Knife And Handle
So first, take the knife and mark the points where dowels were attached previously. Then do the same with the handle as well.
Now check if the gap between the dowel holes is about 2 inches or more. If it’s more than 2 inches, drill a hole in between the gap.
Do this to both the knife and the handle. Make sure that you drill on the same point for both of them. Otherwise, you won’t be able to attach dowels.
Once you’re done, move to the next step.
Step 2: Drill The Dowels
Now, take the handle and put the knife in between it. Then check if all points match and are in the same position.
Then take the dowels and put them inside the holes. Then take the hammer to use it to put the dowels inside. If the handle is wooden, use wooden dowels. If it’s metal, use metal dowels. The size of the dowel will also vary according to the knife depth.
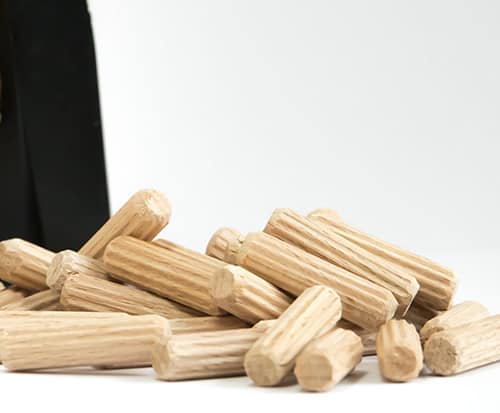
That’s why when you put the knife blade between the handle, measure the height. The dowel should be of the same height.
Once you’ve put the dowels inside, move on to the next step.
Step 3: Tighten The Handle
Lastly, you’ll have to attach the knife with the clamp. Gradually, tighten it. So the dowels easily get hold of the knife blade and handle.
It will ensure that the knife is secured and attached. So you won’t have to worry about it being loose again.
So that’s how you attach an existing handle to it. But what about when you don’t have the handle available? To know that, read the next segment.
What to Do If The Handle is Broken Or Lost?
Well, it can happen that you lose the handle and only have the blade. Or when you check the handle to reattach it, you find it broken.
In that case, you’ve to make a new handle. To be honest, it’s going to be a bit hard compared to the previous method.
But we’ve put the whole process into steps for your ease. Just follow the steps accordingly and you’ll be fine. But first, look at the tools you’ll be needing.
Tools Needed
Now making a handle from scratch definitely will need some tools. So check them out.
- Magic marker
- Wooden blocks
- Woodcutting machine
- Wooden dowels
- Adhesive
- Wood buffing machine
- Hammer
Once you collect the tools, start making the handle.
Step 1: Cut The Wooden Block
First, mark the knife blade holes with a magic marker. Then take the blade and identify the place where the previous handle was. Now measure it, and cut that length from the wooden block. Now cut another block just the same as this one.
Place the blade over the wooden block and mark the hole points to drill. Do the same with both wooden blocks.
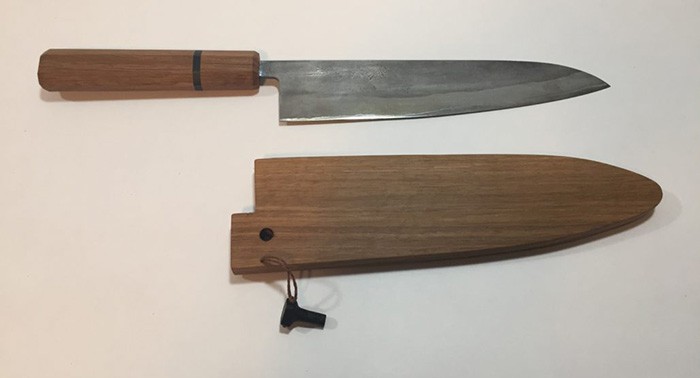
Till now the wooden blocks were just cut to fit the handle shape. But you haven’t designed it to be a little curvy or straight. So you can make the handle design as you like. If you want curves, just draw curves, and cut them out.
Now that you’re done cutting and shaping, move to the next step.
Step 2: Put The Dowels Inside
Now place the knife blade between the handle. Then push the dowels inside and hit them with the hammer so that they go all the way inside. We know dowels have multiple uses. One such use is to keep things attached. So you can trust it to keep the handle and blade together.
Then put some adhesive on the holes where you place the dowels.
If you’re not sure which adhesive will be good, we’ve mentioned a few favorites:
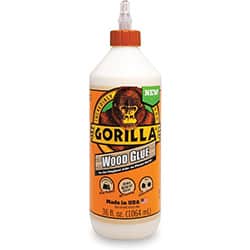
Gorilla 6206005 Wood Glue
Elmer’s Products, Inc E7000 Carpenters Wood Glue
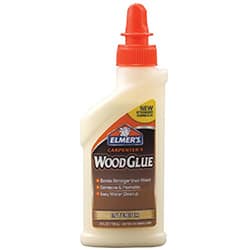
So now you’ve got the adhesive, get to applying it. Clamp them together and wait for about 2 hours. By that time, the handle and blade would be attached to one another.
Step 3: Smoothen The Handle
Now remove the knife from the clamp. Then use the smoothing machine to smooth the handle out. While doing so, try to round up the corners of the handle.
So that you can avoid injuries.
Now the knife will finally be ready to use.
How to Keep The Knife Handle Protected?
Well, now that you’ve rehandled the knife, you know it’s hard work. We bet you don’t want to do it anytime soon. That’s why you need to keep the handles protected.
To do that, try not to put too much pressure on the handles of smaller knives. Also do not hit the handle with anything. While you store them, keep them separately. So that they remain safe from breaking the handle or getting scratches on the blade.
You won’t even have to worry about removing the knife scratches. Plus you got to keep the handle safe. So that it doesn’t break or get detached from the knife.
Well, even if it does, you know how to rehandle the knife. We’ve prepared you for whatever comes your way while dealing with your knife’s handle.
FAQs
Question: Can I make a metal handle at home for my knife?
Answer: Well, no. Making a metal handle for your knife will take some expertise. You’ll need to have access to heavy tools. So we don’t recommend you try that at home
Question: Is There any different method for Rehandling a Japanese knife?
Answer: No, the rehandling process is the same for Japanese knives as well. The only difference is that Japanese knives have a thinner handle than other knives. So if you make it from scratch you can try to maintain that shape.
Question: Can I use a knife that has a broken handle?
Answer: Of course not. Using a knife with a broken handle is too risky. Remember that inside the handle there is also a blade. So it could easily cut your hand.
Parting Words
We’ve given you detailed instructions on how to rehandle a knife. But it’s the end of our discussion today. Hope you enjoyed the learning.
Here’s one last tip, just for you. If you have an epoxied broken handle, try to loosen it off before you rehandling it. This way, the handle will come off better.
If you have any confusion, just comment below.
All the best!
- How Long Does Vegan Butter Last? Mystery Solved - January 9, 2024
- How Long Does Vegan Mayo Last - January 2, 2024
- From Pot to Plate: How Long Does Vegan Chili Last in The Fridge? - December 26, 2023




 How to Fix A Bent Knife Tip?-3 Alternative Methods!