You are throwing a dinner party tonight. So, you’re thinking of preparing a Costco-style cake as dessert. Creating the exact vibe of Costco bakery, add their signature frosting to your dessert.
We all know Costco serves the most delicious desserts around the city. But it’s not that hard to prepare the recipe at home. You can easily prepare the whipped frosting at home if you have the ingredients.
However, you’ll need a proper guide to prepare it. That’s why we wanted to guide you to prepare this delicious Costco whipped frosting recipe. Thus, let’s take a visit throughout the recipe-
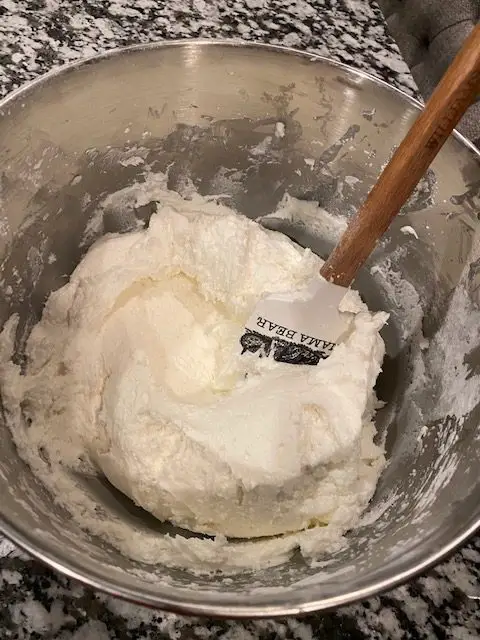
- Difficulty Level: Easy
- Serving Size: 1 Cake
- Preparation Time: 2-3 hours
Nutrition Facts (Per 77gm):
| Calories | 261 |
| Carbohydrates | 33gm |
| Protein | 3gm |
| Sodium | 0.231gm |
| Fat | 13gm |
| Sugar | 25gm |
Required Ingredient List
For Whipped Cream Frosting
- 5 Tbsp of Flour
- 1 Cup of Milk
- 1 cup of Granulated Sugar
- 1 Cup of Butter
- 1 Tsp of Vanilla Extract
For Buttercream Decorator Icing
- ½ Cup of Vegetable Shortening
- ½ Cup of Margarine
- 1 Tsp of Vanilla Extract
- 4 Cups of Confectioners’ Sugar
- 2 Tbsp of Milk
Step-by-Step Guidance to Prepare Costco Frosting Recipe
A perfectly-created whipped frosting can change the whole outlook of your cake. It will increase the beauty of the outer side as well as give you a mouth-watery taste. Trust us, the whipped-making process is super easy.
So, without any further due, let’s jump into the cooking process-
Step 1: Preparing Whipped Cream Frosting
To prepare the most delicious Costco whipped cream, cook a thick paste first. Grab an average-sized saucepan and turn on the stove afterward.
Pour milk onto that saucepan. When you notice the milk is hot, add flour into it. Instantly start mixing the liquid through a hand whisk. Or else, the flour will generate lumps.
Stay cautious or you might burn your hand while whisking. Constantly cook the liquid until you have that thick paste form. It may take 3-5 minutes to reach its proper thickness.
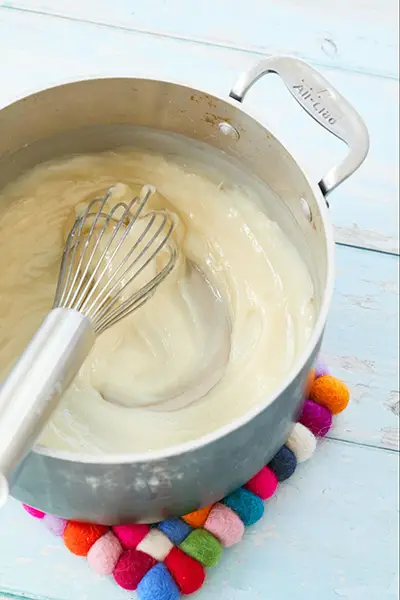
Now, turn off the stove and remove your pan from heat. Cover the pan using plastic wrap. Keep it aside so the paste comes to room temperature.
You can now rest for a while!
Once you’re ready, start making our frosting. Find a large bowl so you can mix those ingredients fluently. Now, gradually add sugar, butter, and vanilla extract into the bowl.
Beat for 3-4 minutes using an electric mixer to blend the ingredients equally.
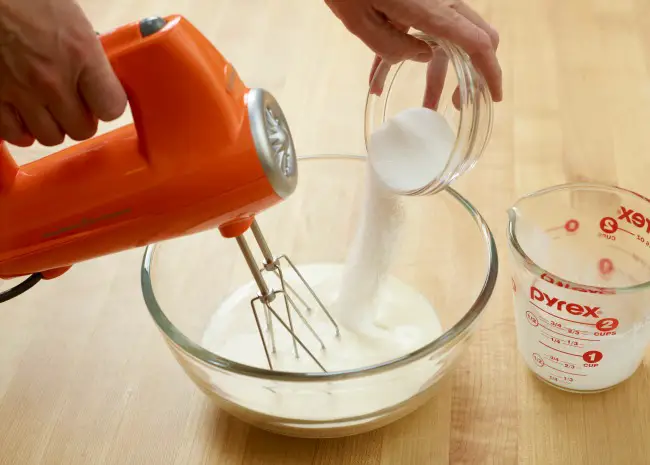
Finally, add your previously cooked flour paste. Whip on medium speed for about 10 minutes. As sugar takes time to dissolve into the mixture. After you’re done whipping, obviously lick some of it to acknowledge its taste!
Lastly, place that bowl inside the refrigerator and yield enough chill. It will take around 3-4 hours or so. You can frost a 9 x 13 inch or 2-layer cake using the whole bunch of whipped cream.
Step 2: Decorate Cake Using Buttercream Decorator Icing
When it comes to the decoration part, we all want the cake to look the prettiest. The best way to beautify the cake is by using buttercream icing.
Plus buttercream icing will help to hold the designs you’ll create. With the help of buttercream, your cake will look exactly like Costco-style cakes.
So, grab a large bowl and pour margarine and vegetable shortening into it. Turn on your electric mixer and beat on medium speed. After 1-2 minutes gradually add vanilla extract and pour sugar.
We’ll mix one cup of sugar at a time. Beat thoroughly after pouring a cup. After 3-4 minutes of beating add another cup.
While beating, those liquids might sprinkle around the bowl. So, scrape the sides of your bowl often with a mixer. Lastly, add milk into the liquid and beat. Beat for 6-7 minutes until the icing is light and fluffy.
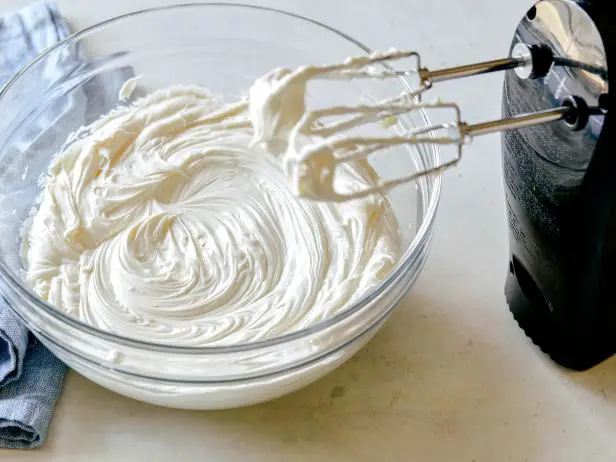
When it’s done, use a damp cloth to cover the icing bowl until the cake is iced. You can also preserve the buttercream icing in the refrigerator for up to 2 weeks. But make sure to put the icing in an airtight bowl so it’ll remain fresh.
When you and your cake are finally ready for decoration, pull out the icing bowl from the fridge. Let the icing come to room temperature. Re-whip butter icing right before applying it over your delicious cake.
Voila! You’ve made your Costco-styled whipped frosting and buttercream icing. Now, you can overcoat your cake with these two amazing tasted frostings.
Extra Tips
There will be some mistakes that you can make while working on this recipe. Well l, we’ll explain some common issues people face while preparing their frosting-
Why Is My Frosting Not Whipping?
The biggest mistake beginners make is they add too many ingredients at a time. As a result, they end up with consistency problems. If your frosting is not whipping, just keep that bowl aside. Start again from the beginning. This time add both liquids and powdered sugar slowly and in small amounts.
How Do You Make Frosting Thick Again?
If your frosting is looking more watery, you need to fix this issue. To thicken the frosting, add a couple of tablespoons of powdered sugar at a time. Add until the icing reaches its desired consistency.
Can I Overbeat Buttercream?
No, you should not overbeat the buttercream. After adding all the ingredients, overbeating can ruin the texture of icing. Also, it’ll create a bubbly texture which is not good for the designing process. But beating a few minutes extra can give you a great fluffy texture. Though be aware of the bubbly texture.
Did you try this Costco frosting recipe? Was it a winner? We are hoping you’ve done an amazing job. Your guests are gonna love this recipe.
Share your overall cooking experience with us by leaving a comment down below.
- How Long Does Vegan Butter Last? Mystery Solved - January 9, 2024
- How Long Does Vegan Mayo Last - January 2, 2024
- From Pot to Plate: How Long Does Vegan Chili Last in The Fridge? - December 26, 2023









 Pork Hocks Vs Ham Hocks: The Battle of Pig Hocks