Pizza is one of the best dishes someone could ever ask for. Having a thin-crusted pizza loaded with lots of cheese feels like heaven.
Now, Bruno’s NY-style pizza is famous all around the country. They have their authentic style. You don’t want to miss any opportunity to have their yummiest pizza.
Keeping that in mind, we’ve prepared this recipe. Here we’ll direct you to make Bruno’s NY-style pizza dough easily at home.
The preparation will be a piece of cake if you have basic cooking knowledge. You just need to follow our instructions.
So, let’s jump into the recipe-

- Difficulty Level: Intermediate
- Serving Size: 3-4 dough balls
- Preparation Time: 1-2 days
Nutrition Facts (Per 28 grams Dough):
| Calories | 72 |
| Carbohydrates | 13gm |
| Protein | 1.8gm |
| Sodium | 0.102gm |
| Potassium | 0.2gm |
| Fat | 1.3gm |
Required Ingredient List
- 4 cups of all-purpose white flour
- 2 ½ cup of cool water
- 2 ¼ tsp of active yeast
- 2 eggs
- ½ tsp of salt
- ½ tsp of sugar
- 1 ounce of olive oil
- Additional flour for kneading dough
Necessary Cooking Equipment
To prepare pizza dough we will need some extra equipment which will make the process lot easier-
- 14” Pizza Pan
- Dough Scraper
- Kitchen Weight Scale
- Stand Mixer
Step-by-Step Guideline for Bruno’s NY Style Pizza Dough Recipe
Ready with all the ingredients and equipment? If yes, just follow our steps and you’ll get the best results. So, let’s jump into the dough preparation-
Step 1 of 4: Mixing The Dough
Take your stand mixer and add the ingredients. Gradually add cold water, salt, sugar, and eggs to the mixer. Add half amount of oil now and preserve the rest for further use.
Now pour yeast and start blending all ingredients by hand or with a whisk. Continue this process for 3 minutes to create a foam layer like a cappuccino. Now, add flour to it.
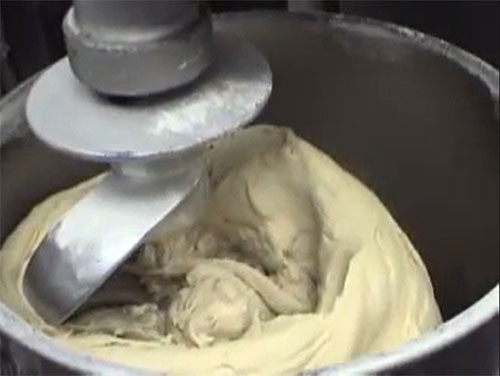
Set the speed limit to 1 and turn on the mixer. Keep mixing the dough for 10 minutes. When half time is past, turn off the mixer. Now you can add the rest of the oil into the mixer. Then continue the process once more.
Step 2 of 4: Divide, Shape, And Proof
When mixing is done, take the dough out of the mixer. Place it on a well-oiled plain surface.
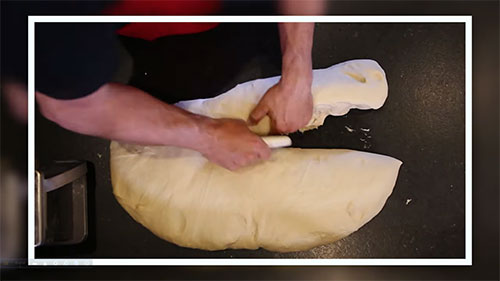
Now, take the dough and divide it into two pieces. Next, you have to shape the dough pieces into balls.
There are many different ways to roll the dough. But don’t forget to end with a circular pie. You can try the folding book style. When the dough ball is ready, press at the center to flatten it.
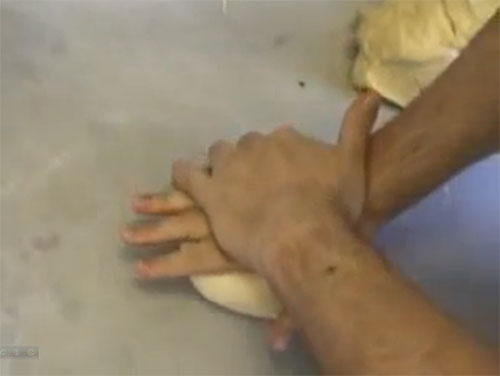
Step 3 of 4: Leave For Fermentation
Now, place the flat dough balls into a bowl. It’s better if you use rectangular plastic boxes to preserve dough. No need to wrap it.
Next, place the bowl inside the refrigerator and wait for a day. The dough will remain fresh for up to 3 days. It will be beneficial for the dough to rise more perfectly if you set up the preserving time.
Step 4 of 4: Preparing Crust
After 24 hours bring the dough out of the refrigerator. Wait for an hour so the dough comes to room temperature.
Then sprinkle a handful of flour on the surface. Smear some flour in your hands too. This way you can play with the dough without it being sticky.
Furthermore, press the dough from inside to outside with the help of your finger’s tip.
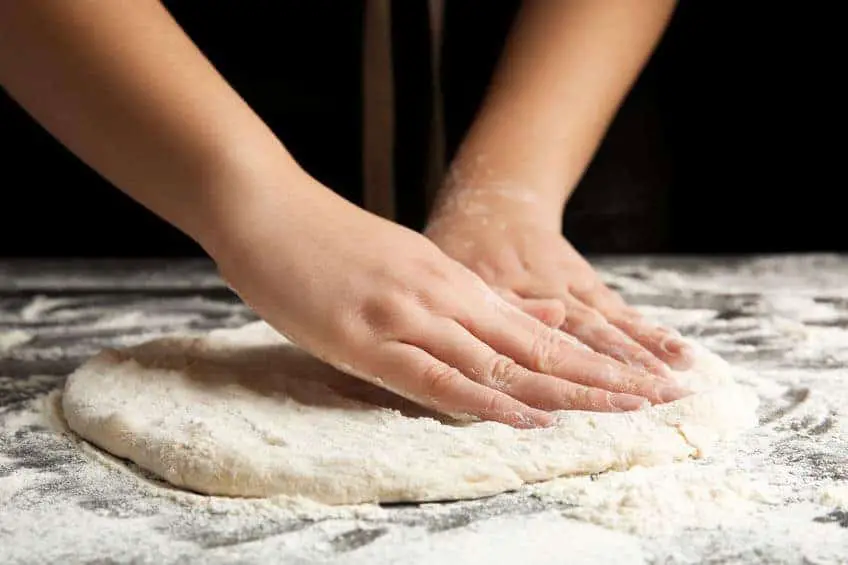
Place the palm of your hands between the center and border of the dough. Then press into the dough. Turn and repeat continuously until the crust is uniformly set.
When your dough’s diameter sets near 8”-10”, start slapping. Place your dough in your right hand, slap it into the left one. After the continuous process, you’ll see the crust is much stretched. So, it’s ready to roll!
Some Extra Tips on Improving Your Beggars Style Pizza
Our step-by-step description should give you a smooth direction to prepare the dough. Even so, you face any hassle while making your pizza, these tips might help you-
What Happens If You Don’t Let The Dough Rise?
If you don’t give time for your dough to rise, it will become dense and less flavorful. It will set itself similar to a cake. Because there will be no plethora of air bubbles that make the crust fluffy.
Do You Knead Dough After It Rises?
Through kneading gluten forms into the dough. If you knead after the dough rises, you’ll destroy most of the bubbles. Thus, your crust will be flat and dense.
Now, you are prepped with what to do. We hope you understand the process and try it yourself. You can leave a comment down below sharing your cooking experience.
Good luck!
- How Long Does Vegan Butter Last? Mystery Solved - January 9, 2024
- How Long Does Vegan Mayo Last - January 2, 2024
- From Pot to Plate: How Long Does Vegan Chili Last in The Fridge? - December 26, 2023





 Lou Malnati’s Pizza Sauce Recipe Can Make You Super Happy!