Icebox cakes are a delight in summer! And blueberry lemon is a classic choice. It’ll keep you cool and refreshed. The cake will also satisfy you if you’re up for something sweet and a little tangy.
Moreover, you can make the cake and enjoy it anytime you want! Plus you can save some money too! So, let’s see what you have to do to make this delicious cake!

Source: sallysbakingaddiction.com
- Level: Easy
- Serving Portion: 8 Slices
- Preparing Time: 20 minutes
- Cake Layering Time: 25 minutes
- Chilling Time: 4-6 hours
- Total Time: 4-6 hours 45 minutes
Nutrition Facts (Per Slice):
| Calories | 180 |
| Fat | 7g |
| Saturated fat | 4g |
| Carbohydrate | 24g |
| Protein | 3g |
Necessary Cooking Equipment
For making the icebox cake, you’ve to get a few pieces of equipment. And these are-
- 9×5″ loaf pan or normal pound cake pan
- Electric mixer
- Small offset spatula
So, those are some of the special tools you have to grab for the cake
Ingredient List
- 8 ounces of mascarpone
- ¾ cups of powdered sugar
- 2 tablespoons of grated lemon zest
- 2 and ½ cups of heavy cream
- 1 cup of store-bought or homemade lemon curd (Divided)
- 12-16 graham crackers
- 1 and ½ cups of blueberry jam
- ½ cup of blueberries (Fresh)
Step-by-Step Instructions-
Now that you’re ready with the ingredients, it’s time to get to work! Therefore, just follow our lead-
Prepare the Mascarpone Mixture
Before making the mixture, you need to line the loaf pan with your plastic wrap. But make sure to leave the wrap at least 2 inches overhang on each side.

Source: sallysbakingaddiction.com
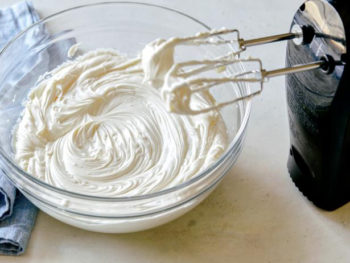
Now, take a large bowl. Put mascarpone cream, powdered sugar, and finely grated lemon zest in it. Then grab your mixer. And set it at medium speed to start beating the ingredients together for 4 minutes. You’ll get a fluffy mixture by doing this.
Next, start reducing the speed of the mixer to low. And add the heavy cream gradually.

Source: sallysbakingaddiction.com
When the mixture gets thick, increase the speed to medium. Beat for another few minutes till medium-stiff peaks form.
Chill the Mixture
Now, once the mixture is ready, transfer ⅔ of it to a large bowl. Then fold in ½ cup of your lemon curd and set aside.
Next, cover your remaining mascarpone mixture with plastic wrap. And keep it in your refrigerator till your icebox cake is ready. Because only then you can use the remaining mixture to cover your cake.
Start Making Your Layered Cake
Now, remember we’re using graham crackers instead of a pound cake. However, you can definitely use store-bought pound cake for this.
Nonetheless, take the loaf or pound cake pan you had prepared. And place a layer of graham crackers. Break the crackers if needed to fit the pan

Source: sallysbakingaddiction.com
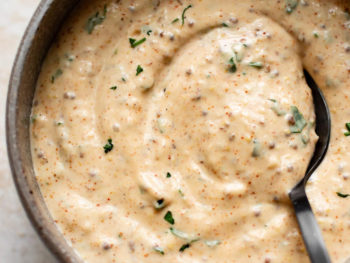
Then grab the spatula to spread ¼ of lemon curd on top of the layer of crackers. But make sure the lemon cream is spread evenly.

Source: sallysbakingaddiction.com
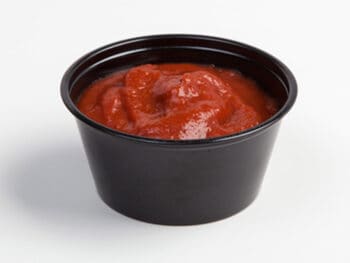
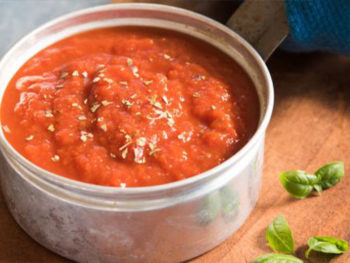
Now, add ½ cup of the blueberry jam and spread it evenly over the lemon cream layer.
Next, put ¼ cup of lemon curd on that. Then add a third of your remaining lemon cream and top that layer with the crackers. Now, just repeat the layering process and finish it with crackers on top.
Also, if you want, you can add the remaining cream again. Then top it with some blueberries and lemon zest.
Let the Layered Cake Chill

Source: sallysbakingaddiction.com
After you’re done, cover the pan with plastic wrap. Then put it in your refrigerator or chiller.
Make sure it’s in the refrigerator for at least 6 hours. And if you want to place it in the chiller, wait for 4 hours. This way, the cake will be all set.
Take the Cake Out & Uncover It
After it’s set, time to uncover the pan and get the cake out.
So, invert it on a large plate or platter. Use the plastic overhang to unmold your cake. Then peel the plastic off.

Source: sallysbakingaddiction.com
Now, to add the frosting, get the remaining mascarpone cream. And spread it all around your cake. But if you have already decorated the top, you skip adding frosting on the top.
Lastly, if you want, you can grab the blueberry jam. And mix it with fresh blueberries. Then put the blueberry mixture on top of the finished cake. Or just cut the cake how it is! Each piece should be approximately 1” thick if you’re aiming for 8 equal pieces.

Source: sallysbakingaddiction.com
That’s it! The blueberry lemon icebox cake is all done!!
Some Important Tips-
Can I Make the Icebox Cake A Day Before?
Sure, you can! The cake can be made 2 days ahead. Just wrap it properly and freeze the cake.
How to Make Blueberry Sauce at Home?
You can easily make the sauce. Just grab fresh blueberries, sugar, and lemon juice. Put them into a pot and place the pot on your stove. Then keep stirring till the sauce is ready. Lastly, cool it down and refrigerate.
Do the Layers Have to Be Even?
Layering the ingredients evenly will form a perfect-looking cake. However, if the layers aren’t too even, there shouldn’t be any problem. As long as you let the cake chill for enough time.
How Long Can I Store the Icebox Cake in The Refrigerator?
Well, the icebox cake can be stored in your fridge for 2-3 days. Just make sure to store the cake properly. So, the taste and texture don’t get ruined. You can place the remaining icebox cake into an airtight container. Lastly, keep it in the refrigerator.
How to Make Dairy-free Icebox Cake?
For lactose-intolerant people, making desserts can get difficult. But fear not! You can easily make dairy-free icebox cakes for yourself. You just have to get full-fat coconut milk and dairy-free coconut milk powder. Then just keep the rest of the ingredients the same.
That’s all about how to make the blueberry lemon icebox cake. Also, you can make strawberry lemon icebox cake this way too. Just use strawberry jam instead of the blueberry one!
Now it’s time to take a bite of that blueberry delight!!

- How Long Does Vegan Butter Last? Mystery Solved - January 9, 2024
- How Long Does Vegan Mayo Last - January 2, 2024
- From Pot to Plate: How Long Does Vegan Chili Last in The Fridge? - December 26, 2023


 Treat Yourself With The Best Piña Colada